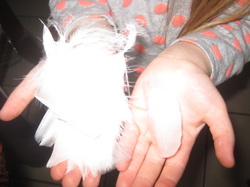
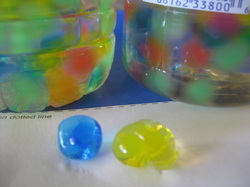
Last week I purchased a bunch of used books from our local library. One of them was Arlene Alda's ABC, A New Way Of Seeing. It is an ABC book where she took pictures of things in nature that looked like the letters of the alphabet (some were man made). My Little Man has really been enjoying this book. So today I spontaneously came up with the idea to go on a nature walk in our neighborhood and look for things that looked like letters.

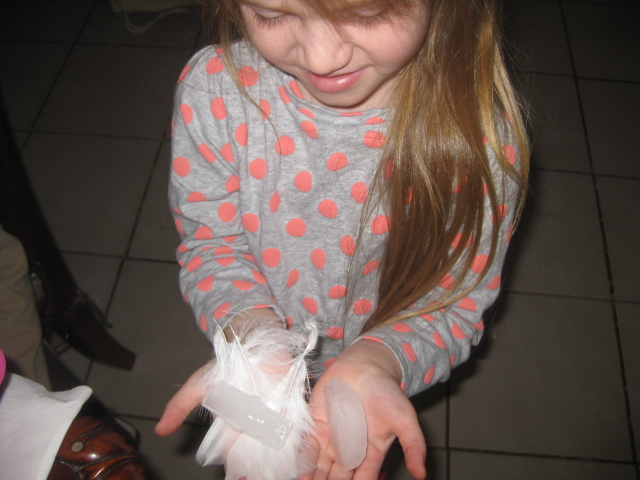
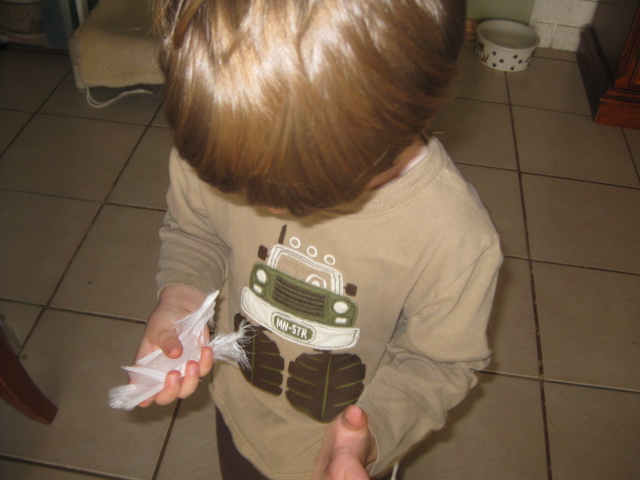
Daddy was working from home today so he was able to join us for our walk. The Princess had a checkoff sheet with all the letters on it and as we found something she marked it off. Little Man was calling out all the shapes he was seeing it was hilarious as I kept trying to explain we were looking for letters not just shapes. At one point I just bent down gave him a huge hug and kiss and told him he was an expert shape finder.

I took pictures of each thing we found and I plan to bind our own ABC, A New Way of Seeing book. Here is a slide show of what we found, some you may have to look really hard or just use your imagination- lol. It wasn't until I put them in order on the blog that I realized we didn't find any N's. I guess the Princess got a little carried away checking off letters. Oh well we'll have to go out later to find an N.

This was so much fun you really have to try it. I'm going to put them into a powerpoint for the kids in the same style that Alda used in her book. I'll also put together some type of book that we can bind so the kids can go back and look at "our letter adventure"- oh maybe I'll use that for our title.

(you can view the finished power point here)

Thanks to Deb at Living Montessori for featuring us on her Facebook page!
 
I have really been wanting to bring some bible study to our home preschool but haven't yet decided what I want to do to incorporate the bible into our lessons. I read about Resurrection Eggs and knew this was just the think to get us jump started.

Have you heard of Resurrection Eggs to teach about the 12 days of Easter? I had never heard of this until I saw pins all over Pinterest a few days ago. You can buy Resurrection Eggs apparently but since I am a little behind on this one this year I had to settle for making mine.  Similar to the advent calendar at Christmas you open one egg each day and discuss what is inside. Each day you read a passage from the bible Starting with Palm Sunday and ending with the Resurrection. For instance today we read about Jesus riding the Donkey into Jerusalem and how the people welcomed him by laying palm fronds before him. When we opened our egg there was a picture of a donkey. We discussed why their might be a Donkey in the egg thinking back to the passage we read together. My kids are really enjoying this and it put the focus where it should be- on Jesus not the fake Easter Bunny.

I found some great lesson materials at 2 Teaching Mommies for making my own resurrection eggs. I loved that they added the pages from the Beginner's Bible that went with each of their lessons since that is the bible we use also. I modeled my eggs and activities after their suggestions. They also have a link to printable Resurrection Eggs for Free. They have a separate post for each day. Check them out here.

Sierra over at H is for Homeschooling wrote a whole post on her blog about the resurrection eggs. She even chose her own verses and added extension activities to her resurrection eggs. You can check it out here
I'll take some pictures and update this post as we move through the eggs.
 
This week we are focusing on the letter R. It has been raining here but I had planned rainbows so even though rain seems more appropriate we are forging ahead with rainbows lol. So here is a slide show of the trays we started with on Monday be sure to check back on Sunday to see all our rainbow fun! Be sure to stop by the What's on the Tray Wednesday Linky at H is for Homeschooling or the Montessori Monday Linky to see what others have planned.

 
This week we investigated with Ooblek. Funny my own little ones were not nearly impressed with Ooblek as my fifth graders are. I couldn't even get my own kids to touch it.- LMAO. We tried to stir it with spoons, pour it and finally the Little Man decided to use it to decorate his ride on tractor.
 
So I know I am a little behind in posting on the blog but here are some of the Dr. Seuss inspired activities we did.
I'll do a separate post for our Ooblek Investigation.


Wacky Wednesday is one of The Princess's favorite books and has been for quite some time so I wanted to give her a Wacky Wednesday of her own. Boy was there an excited pair of kids in the house this morning as they walked around and discovered what wacky things that Cat in the Hat had left. Here are some pictures of our wacky Wednesday.
 
This week we are celebrating Dr. Seuss's belated birthday. I really wanted to finish up our penguin unit last week so I decided to do a belated Dr. Seuss week. This also allowed me to look at others posts and see what they did last week (smart huh?).  Monday we are doing Red Fish, Blue Fish . Tuesday is In A People House and The Tooth Book, Wednesday is Wacky Wednesday (see separate post here) and the ABC Book.  Thursday we have a preschool class at the Adult Center. Friday will be Bartholomew and the Ooblek. Fun week indeed. I will add the links for all the printables later today I have to run out for a little while but wanted to get the trays up.
 
Picture
I think this was one of my favorite tot school weeks so far and I really feel we have made the transition from "tot" school to "pre school this week. We got through a ton of Penguin themed activities, worksheets and books. The only thing we didn't really get to was the art projects I had planned. My Little Man is not a fan of the art currently, but The Princess is so I thought we would do a couple art activities.

The Princess made her very first lap book and she did it almost entirely by herself. She cut, she glues, she answered the questions and wrote her information. I am a proud mommy. I'll include a few pictures of the completed book in the slide show below.

I bought a Penguin activity kit on Amazon. It was $11.00 but only worth about $5.00 I was really disappointed. I hung up the life size poster of the Emperor Penguin with some velcro clips I had and let the kids take their picture next to it so they could see the penguin was taller than each of them. But the kit is going back because it was not worth $11.00.

I think everyone enjoyed learning about how Penguins stay warm. I did a whole separate Fun Friday post about this you can see it here.

Unfortunately we did not get to do a Dr. Seuss week for Dr. Seuss' birthday since we extended our Penguin theme so we will do a belated birthday celebration next week. ( I have lots of ideas for Wacky Wednesday).

Thanks for taking a peek at our week. Be sure to check out 1+1+1=1, Preschool Corner, Living Montessori Now, and the TGIF Linky Party to see what others are doing this week. I've added a Follow me on twitter button if you'd like to follow our journey. 

 
How do penguins keep warm in such frigid temperatures you wonder. Well we learned about three ways the Penguins keep warm.  The first way is by huddling close together. Penguins move to the middle of the huddle, when they get hot they move to the outside and other penguins move into the center of the huddle. We were able to experience this somewhat with three people. (Looks more like a sandwhich hug than a huddle.)
Picture
The second way penguins keep warm is the insulation their down feathers provide them with. We took some down feathers and a few ice cubes and did a little experiment of our own. In one hand we placed the down feathers and put an ice cube on top of the feathers. In the second hand we put an ice cube. The kids were able to feel that the feathers protected their hand from the cold. The Princess explained to me that her bare hand was very cold but the hand with the feathers didn't feel cold at all. Little Man dropped the ice cube out of his bare hand almost immediately- lol. You could kick this up a notch  for kids a little older by using a timer to see how long it takes for the feather hand to get cold or by using a thermometer in each hand (one under the feathers) to see the temperature difference. These feathers also keep the water from penetrating the penguin.

I've been seeing lots of posts about water beads (polymer beads) so I ordered some on ebay from China for only 0.15 a package. They came on Thursday and I couldn't resist so we had two science projects this Friday.

Check out what others are doing with Science this week at the Science Sundays Linky. What kind of fun are you having on Fridays? Check out others at the Fun Stuff Friday Linky.

Picture
The third way penguins keep warm is the insulation that their fat layer (blubber) provides them.  To experience this we used plastic baggies, crisco and a tub of ice water. We filled one baggie 1/3 full with crisco then inserted teh second baggie to act as a glove so our hands wouldn't get so yucky. We put our hands inside the second baggie and plunged our baggie/ crisco covered hand into the icy water. Amazing! The crisco insulated our hand like the penguins blubber and our hand stayed warm. I took quite a few pictures so I'll insert a slide show below.

Picture
I ordered some water beads from Ebay and they were delivered on Thursday. I couldn't resist pulling them out- so we did a second science investigation today.